Elevate Your Space with Stylish and Functional Floating Shelves
Floating shelves are the perfect blend of form and function, providing a sleek, minimalistic look while offering practical storage solutions. Ideal for any room in your home, these shelves add a modern touch without overwhelming the space. In this guide, we’ll walk you through the process of building and installing your own floating shelves, ensuring a seamless addition to your home’s décor.
Understanding the Basics: What Makes Floating Shelves Unique
Unlike traditional shelves, floating shelves are designed to hide their supporting brackets within the wall, creating a clean, uncluttered appearance. They come in various materials and finishes, allowing for customization to fit any room’s style. Whether you’re looking to display books, plants, or collectibles, floating shelves are a versatile option.
Choosing Materials and Tools: The Foundation of Your Project
The first step in building floating shelves is selecting the right materials. Consider the weight of items you plan to display, as this will determine the type of wood and support brackets needed. Common choices include MDF (medium-density fiberboard), plywood, or solid wood like pine or oak. You’ll also need tools such as a saw, drill, level, screws, and wall anchors, depending on the type of wall you’re working with.
Design and Measurement: Precision for Perfect Placement
Measure the space where you plan to install the shelves. Decide on the number of shelves and their dimensions. Keep in mind the room’s layout and the size of items you’ll be placing on the shelves. Sketch your design, including the placement of brackets and screws, to serve as a guide throughout the building process.
Building the Shelves: Bringing Your Vision to Life
Cut your chosen material to the desired length and width for each shelf. For the internal bracket, use a sturdy material that can be securely attached to the wall and support the shelf’s weight. Attach the front and sides of the shelf to this bracket, ensuring everything is square and level. Sand and finish the shelves in your chosen color or stain, giving them time to dry completely.
Installation: The Key to Floating Shelves
Locating the studs in your wall is crucial for a secure installation. Mark the positions of the studs and align your bracket accordingly. Drill holes into the studs, then secure the bracket using screws. Carefully slide your shelf onto the bracket, ensuring it fits snugly and is level. Additional wall anchors or support may be required for plaster or drywall.
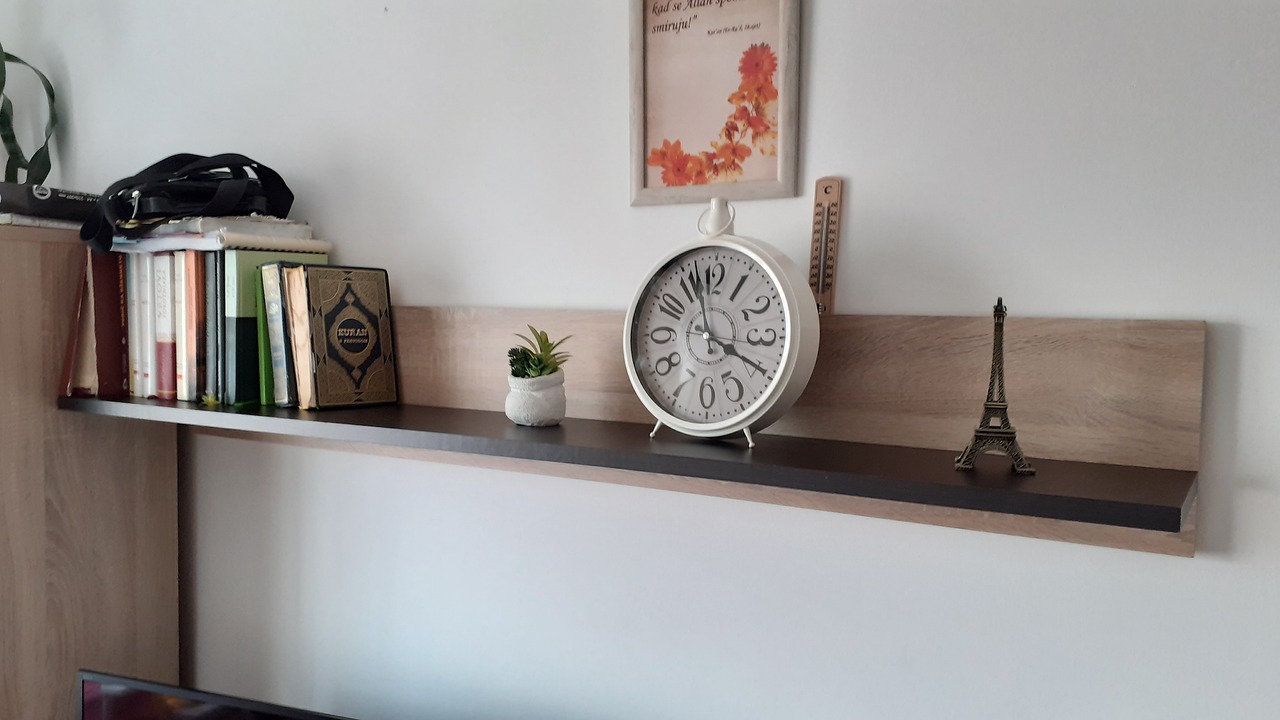
Styling Your Shelves: Unleash Your Creativity
Once your shelves are up, the fun part begins. Style them with a mix of functional and decorative items. Books, picture frames, plants, and unique trinkets can all find a home on your new shelves. Play with arrangements until you find the perfect balance that reflects your personal style.
Maintenance: Keeping Your Shelves in Top Shape
Regular dusting and occasional tightening of any screws will keep your floating shelves looking great and functioning well. Be mindful of the weight you place on them, and avoid overloading to ensure longevity.
Conclusion: A Project with Endless Possibilities
Building floating shelves is a rewarding DIY project that enhances your living space’s aesthetics and functionality. With the right tools, materials, and a bit of creativity, you can create a custom storage solution that perfectly fits your home’s style.
Floating shelves offer a unique and stylish way to organize and display items in your home. They are not just a means of storage, but also an opportunity to showcase your personality and design flair. By following this guide, you can build sturdy, beautiful floating shelves that will enhance any room, making it more inviting and stylish. Happy building!